Quick Links
One of the best parts ofElden Ringis the variety of builds available for players to try out, most of which are effective from the beginning to the end of the game. And with the release ofShadow of the Erdtree, thenumber of viable buildshas skyrocketed, and players have more options than ever to make one of the bestElden Ringbuilds in the DLC.
Some of these bestShadow of the Erdtreebuilds are completely new,like the Thrusting Shieldor Deflecting Hardtear builds. But some are essentially improved versions of the bestElden Ringbuilds from the base game, thanks to additions like new Arcane options and new ways to build a classic Shield & Poke combo.
This guide goes into detail on five of the best buildsShadow of the Erdtreeenables – but first, six honorable mentions for other builds that aren’t quite as overpowered, but are still strong enough to take you through to the end.
ArcaneElden Ringbuilds have beendominated by a singular loadoutsince players discovered just how overpowered Rivers of Blood is in PvP. Though there hasn’t been much variety in Arcane builds since then, the DLC has added a ton of new options for Arcane players struggling to find a good non-RoB build to try. And thankfully, these new tools are actually very powerful.

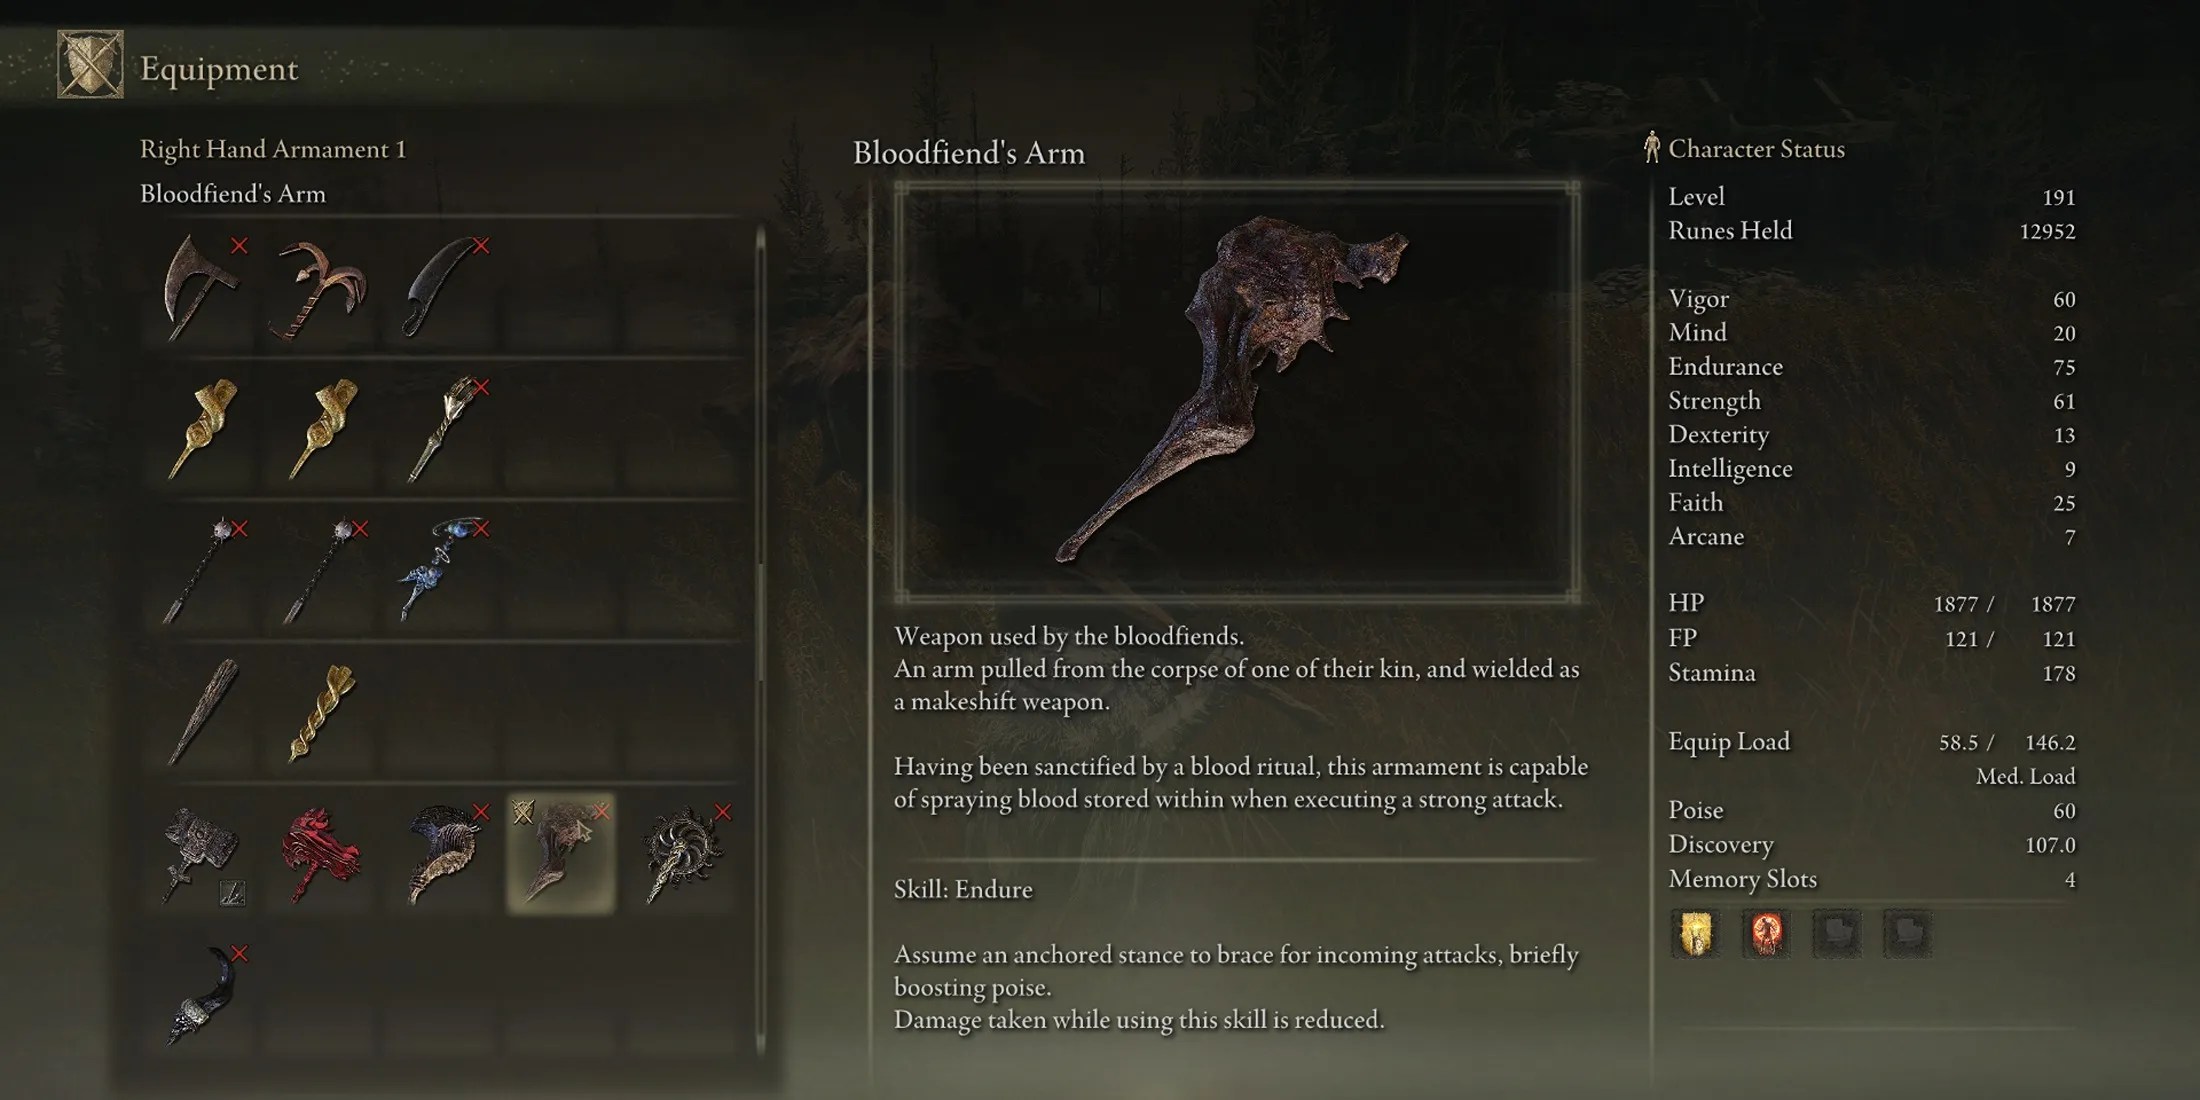
Many of the bosses in the DLC are not immune to Bleed, and your classic Bleed builds will work just fine (once you get Scadutree Blessings, of course). But with new rapid-attack items like the Backhand Blade and Dryleaf Arts, andthe Bloodfiend’s Arm colossal weapon(which procs Bleed practically every other Heavy jumping attack), Arcane players have a lot of new and powerful options to try out.
If Bleed isn’t your thing, but you still want to try an Arcane build, don’t fret – there are also new Incantations that you may only get by defeating Bayle and using his Heart at the Grand Altar of Dragon Communion, Incantations that require very high Arcane stats. If you plan to raise ARC above 50, consider picking one of these two new Bayle spells up to give you a few more options.
The Poleblade of the Bud is not the most powerful weapon inShadow of the Erdtreeon its own, as it has a pretty standard Halberd moveset. However, its Ash of War is able to cover a quite enormous distance, allowing you to catch up to pesky Invaders or carve your way through a group of enemies that would be otherwise difficult to kill were it not for the huge AoE.
Scarlet Rot has long been a great wayto take on bosses, because it deals an enormous amount of damage (compared to other DoT effects), and lingers for a really long time. Plus, in the DLC, we get two amazing new tools for Scarlet Rot builds: Rotten Butterflies, a powerful but long-cast-time Incantation, and the Hefty Rot Pot.
Scarlet Butterflies takes a long time to finish, but the Butterflies spawn only a few seconds into the animation, and you can be knocked out of it without affecting the spell. Each of these butterflies deals a huge amount of Scarlet Rot buildup, and if you can place yourself well, a single cast may be all you need toproc Scarlet Rot on an enemy.
Additionally, the Hefty Rot Pot on its own can proc Scarlet Rot almost instantly on all but the highest-Immunity enemies. Just try the second-to-last boss fight without completing Moore’s quest a certain way to see how OP these new throwables are.

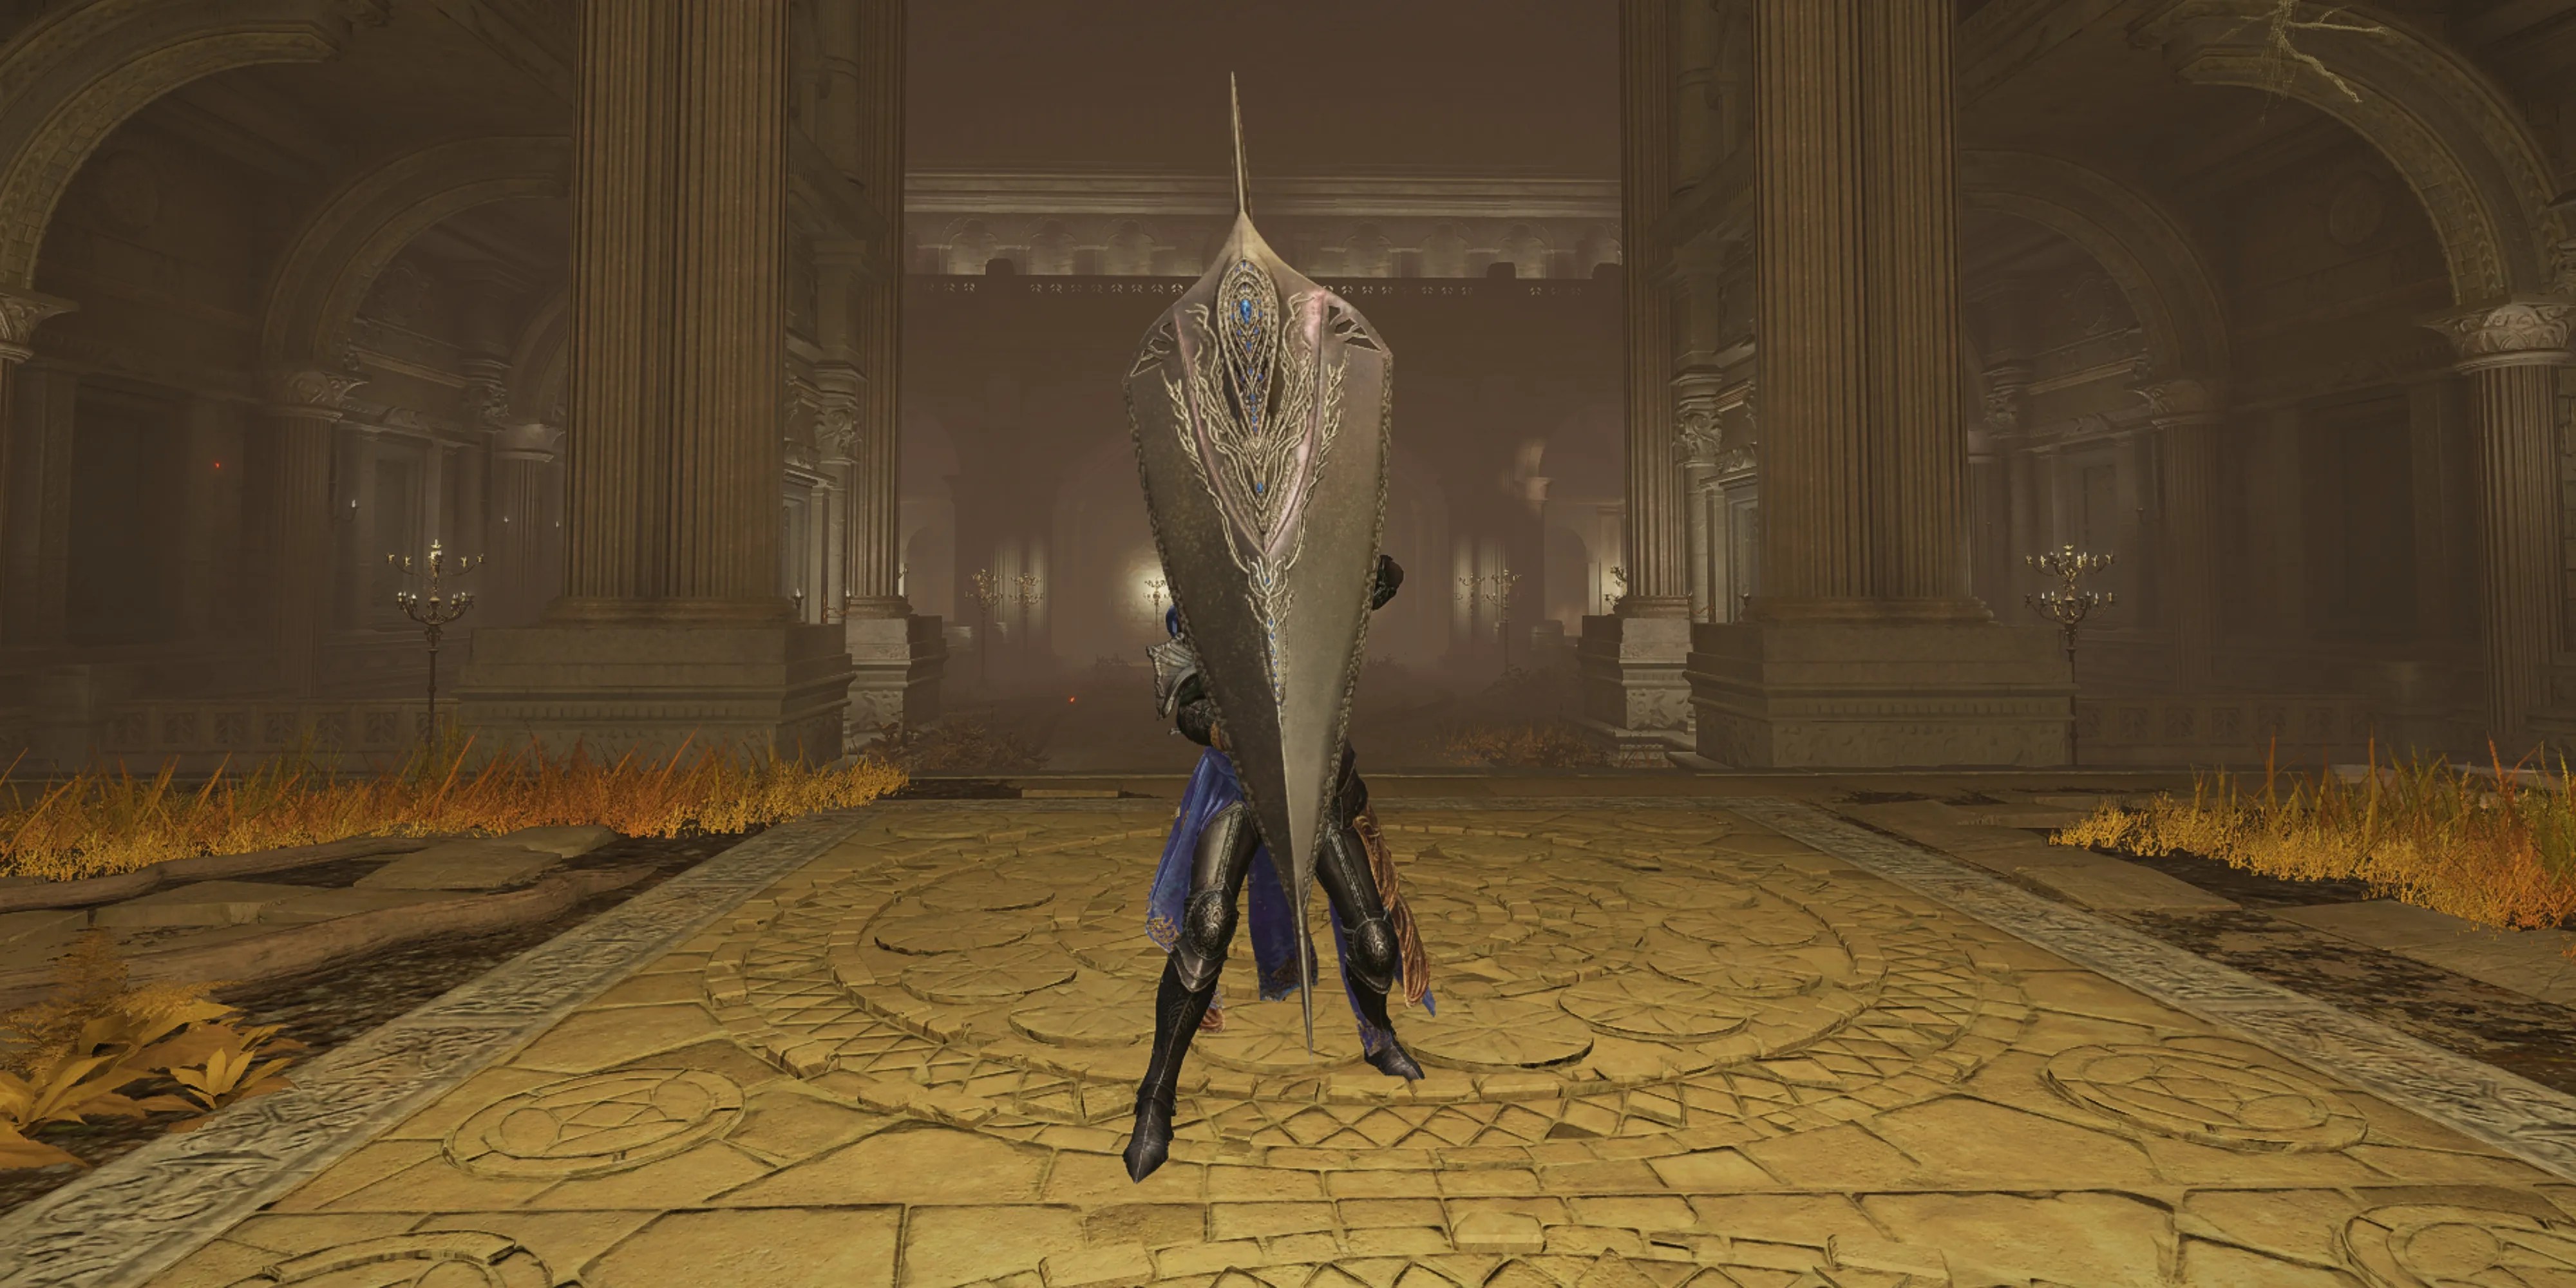
Arguably one of the most gameplay-changing builds in the DLC must surely be the Thrusting Shield build. A Thrusting Shield is unique in that it is capable of acting as both a thrusting weapon (like a Spear) and a Shield at the same time. And the defenses onboth available Thrusting Shieldsare not too shabby, especially when enhanced with the Scholar’s Shield sorcery and the Greatshield talisman.
But because it’s capable of thrusting, the Spear Talisman is incredibly useful for this build. And because you’ll be able to almost instantly react and block to attacks, you will likely get a lot of Guard Counters out, too, making the Curved Sword Talisman a must-have.

If you truly want to take this build to the next level, though, consider equipping the Deflecting Hardtear. This Crystal Tear enables a Perfect Block system, and with the Guard Boost of your shield you will take almost no Stamina or HP damage when performing a Spontaneous Guard.
To turn this into a nigh-unbreakable barrier against all but the strongest enemies, it’s not a bad idea to infuse your shield with the Heavy affinity, and only have enough Intelligence to equip it and the Carian Regal Scepter.
The Deflecting Hardtear isone of the most powerful new itemsin the DLC, because it essentially allows you to Perfect Block for five minutes, and grants a huge boost to Guard Counters enacted after you Perfect Block.
This Crystal Tear completely negates HP damage if you block at the exact moment a hit would have struck you, and only lets Stamina damage through based on your shield’s Guard Boost. But, you don’t actually need a shield to perform a Spontaneous Guard – you just need to be able to block
Rellana’s Twin Blade, though Two-Handable, doesn’t allow you to Block, for example.
Whether you are Two-Handing the practically defenseless Dryleaf Arts or the relatively protective Anvil Hammer, if you Perfect Block, you don’t take HP damage. But because the Stamina damage depends on your weapon’s Guard Boost, it’s a good idea to equip something heavy and defensive to almost completely negate any attack that comes your way.
The Deflecting Hardtear also works on ranged and spell effects. You canblock the final boss' first attack, his immediate follow-up, the explosive mid-phase blast, and the cross-attack (and all Holy attacks in the fight) with nothing but this item and a Colossal Weapon with at least 80% Physical defense and 50 Guard Boost.
Equip the Two-Handed Sword Talisman and the Greatshield Talisman to increase your damage output and ability to Guard effectively, respectively. The Curved Sword Insignia is huge for this build too because its Guard Counter boost stacks with the Deflecting Hardtear boost. Additionally, use the Stonebarb Cracked Tear to break enemy poise even faster, though this effect lasts noticeably shorter than the Deflecting Hardtear effect.
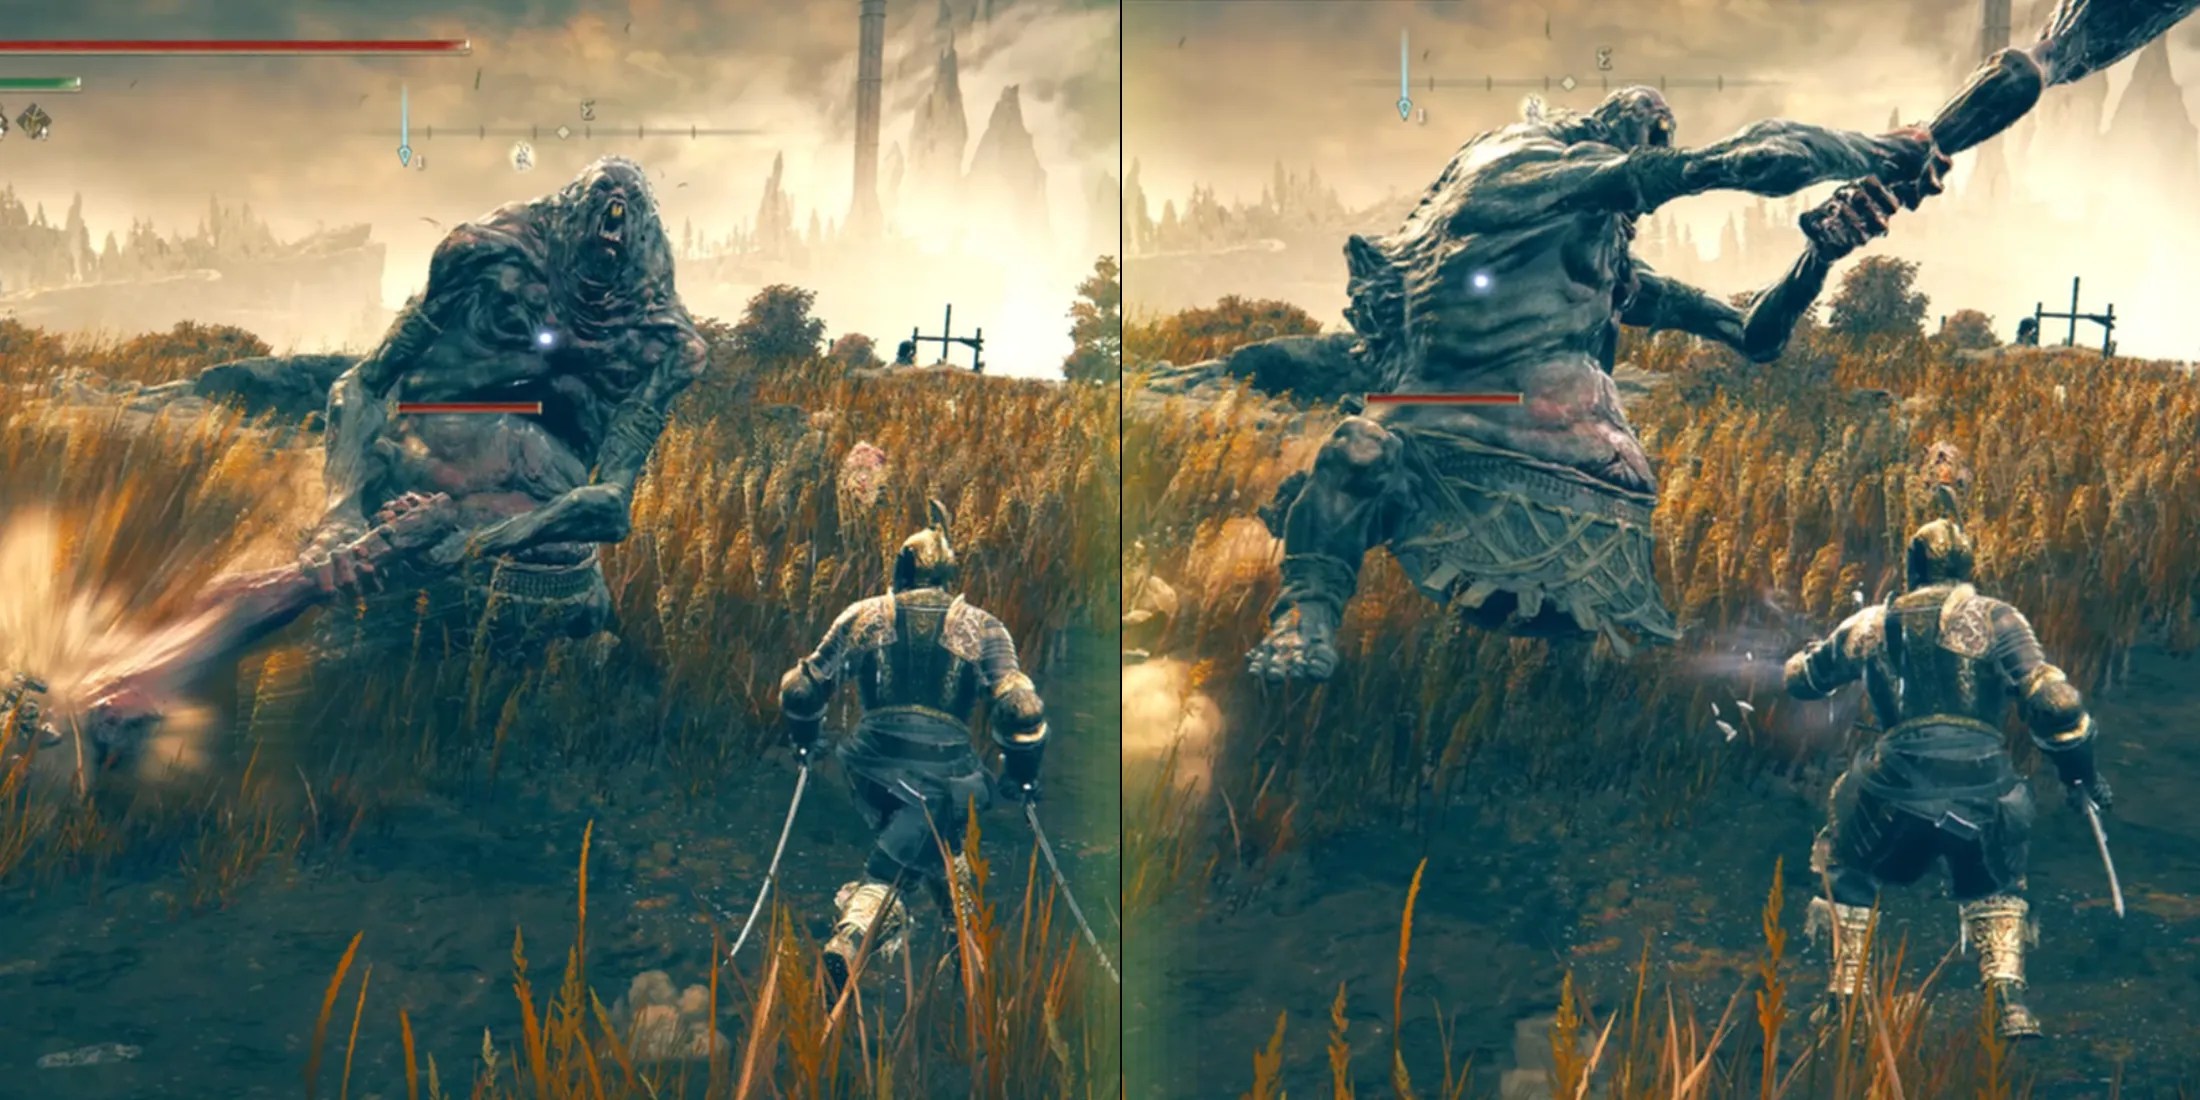
Most players consider the most difficult boss in the whole DLC to be the final boss, and some are resorting to anything they can to match the somewhat frustrating encounter design. Because of the boss' rapid moveset and difficult-to-dodge mechanics, one of the best ways to counter the final boss is to use a 100% Holy Resist shield with any Thrusting weapon that can inflict status effects like Scarlet Rot.
The best weapon and shield combination for this tactic is theBlack Steel Greatshield, which has 100% Holy Resist and 95% Physical Resist at max upgrade with the Sacred affinity, plus the Antspur Rapier. You can attack with most Thrusting weapons while blocking with your shield, and the Antspur Rapier is a particularly great choice because of its innate Rot buildup and the ability to give it the Bleed affinity.
With this combination, you can face-tank the majority of the final boss' attacks, though you will still need to watch your Stamina bar and dodge out of the way of certain things. Still, the ability to block while attacking is amazing for this fight, and because of the Black Knight Greatshield’s 100% Holy and 95% Physical resist atmax upgrade with the Sacred affinity, you will be able to do quite a lot before running out of Stamina.
Equip either the Kindred of Rot or Lord of Blood’s Exultation for Rot and Bleed, and use the Pearlshield and Greatshield Talismans for even more defenses while blocking. The Spear talisman is great for our Antspur Rapier, and the Lord’s Divine Protection Incantation can be a huge boon for defending against the last boss' onslaught of Holy attacks.
